Here's a story of getting uncomfortable, the best place to be as an artist.
Everyday you have the choice to be content with things simply happening to you, or choosing to make things happen. The latter tends to make me happier even when it definitely isn't as easy. In June 2017, storms were simply everywhere across Texas, into Oklahoma, and south into Mexico, and finding a location to shoot astrophotography and wide angle night sky photos with a new moon were blocked by cloud cover. I was checking every weather and astronomical forecast to see if anything would clear up and a tiny place in the panhandle of Texas was clear; Caprock Canyons State Park. I had been to Caprock Canyons before and was not excited one bit.
Caprock Canyons is a beautiful area with large outcroppings of rock and very dark skies, but it has some things that make it kind of tough to shoot for a nightscape image. It has quite a bit of traffic with campgrounds fairly close to some of the best rock formations. Everyone (and I mean everyone) has their flashlights on, cars are driving in and out into the early hours of the morning, and you have, usually, a few people light painting areas of the park. As a photographer that shoots a ton of night landscapes it's everything I try to avoid.... and then there are the snakes.
A WHOLE LOT OF SNAKES! Tons, mountains, a plethora of snakes. Can't-walk-three-feet-without-seeing-a-snake amount of snakes. It's like my nightmares have come to life, but there is absolutely nowhere else to go (Death Valley National Park by means of Las Vegas flights are really expensive if you want to leave the same night you book), so embraced the fear and I headed out on a 5 hour drive to Caprock Canyons!
I knew that I wanted to shoot an arched Milky Way image and would have to figure out a composition, hike in, set up, and be ready to shoot within about 90 minutes of arriving. Oh, and set up 2 time-lapse rigs quickly as well so no pressure. Spoiler, the time lapses didn't happen. I scouted the South Prong and hill side areas quickly, took a pretty good guess at where two images would eventually line up well and the timeline for both, and threw my cameras and equipment into my folding wagon and started walking into the snake infestation that is the Caprock Canyon trails.
I'm at about 30 minutes before sunset and the surrounding landscape has already blocked the rays of the sun and the trail I am moving down keeps getting lower and lower, and I haven't exactly checked the trail maps, but after walking about 15 minutes and dropping down into a ditch about 25-30 feet in elevation below where the trail head was I am finally starting to walk up a hill. I can just start to see the composition I want, but the height on the trail is too low, but there is a hill to my right though that adds another 10-15 feet. The ideal height for the image I am thinking of creating. This perfectly placed hill is full of cactus, and what look like gopher holes. They are very, very definitely not gopher holes. I cry a little on the inside and very carefully make my way up the hill with my bag and tripod and leave the wagon on the trail just within eyesight. I refuse to travel the 20 or so feet for anything in that wagon. The "gopher holes” have kept me from attempting any time lapses for the night.
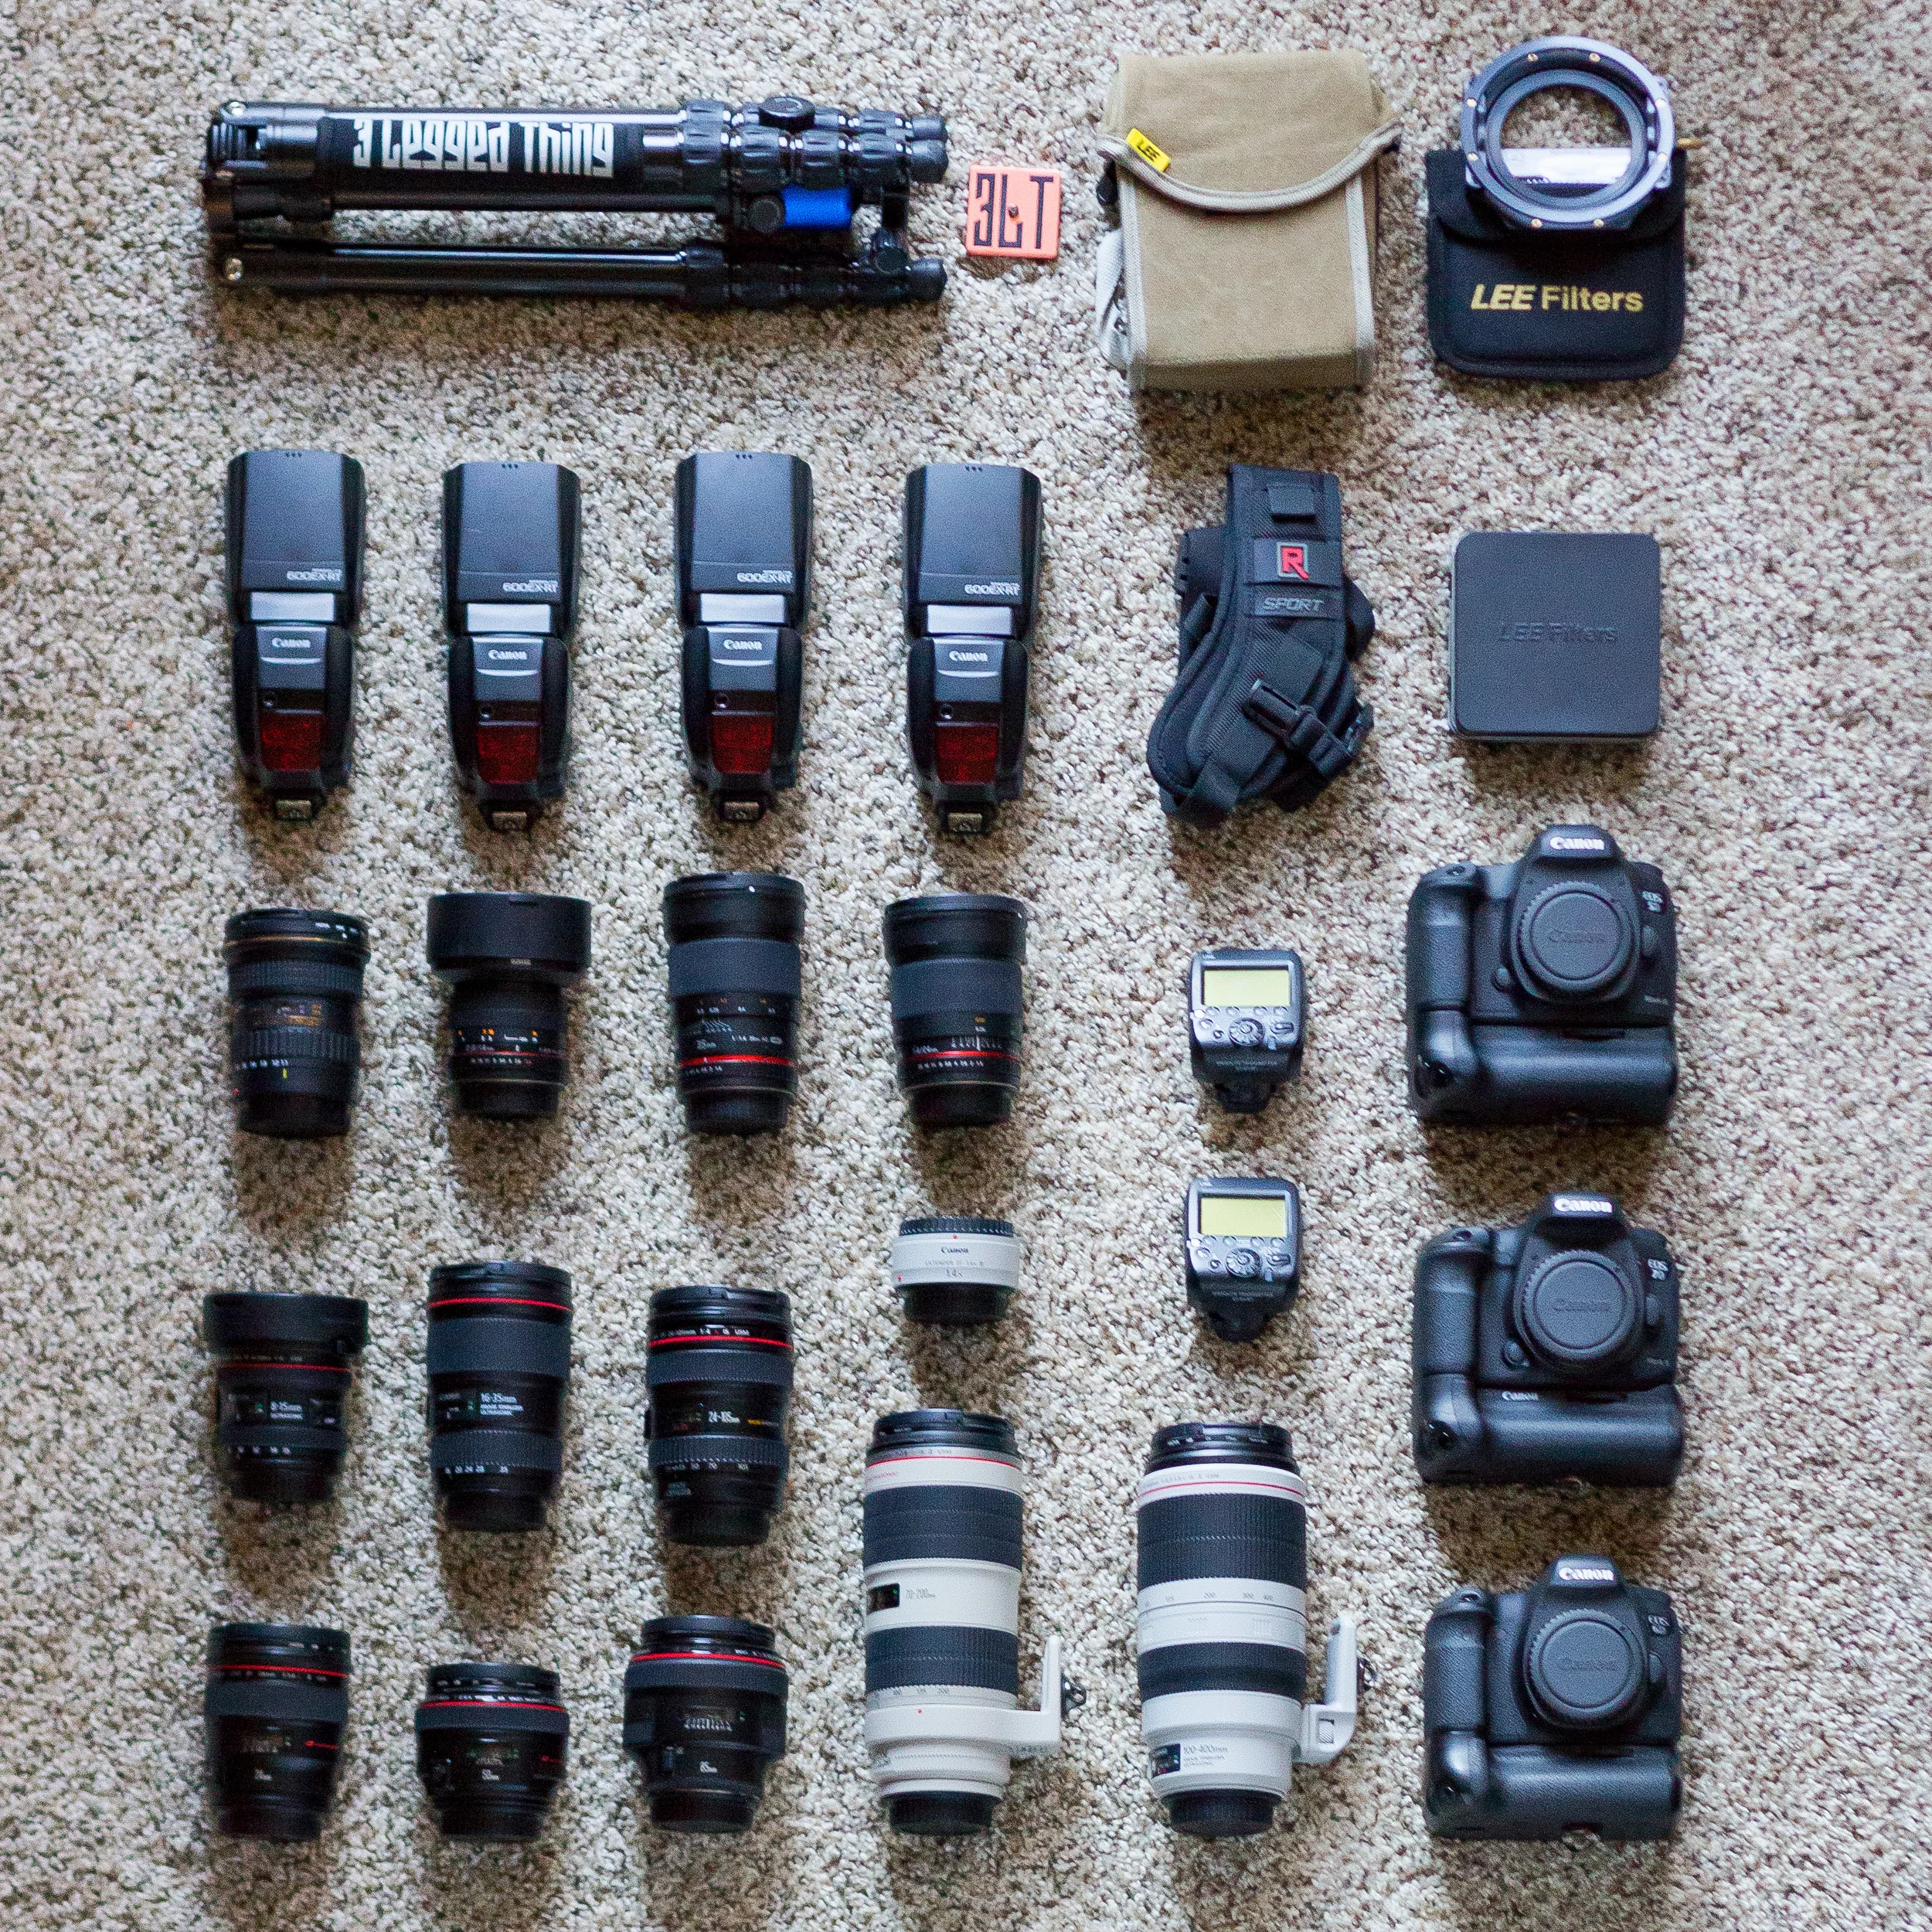
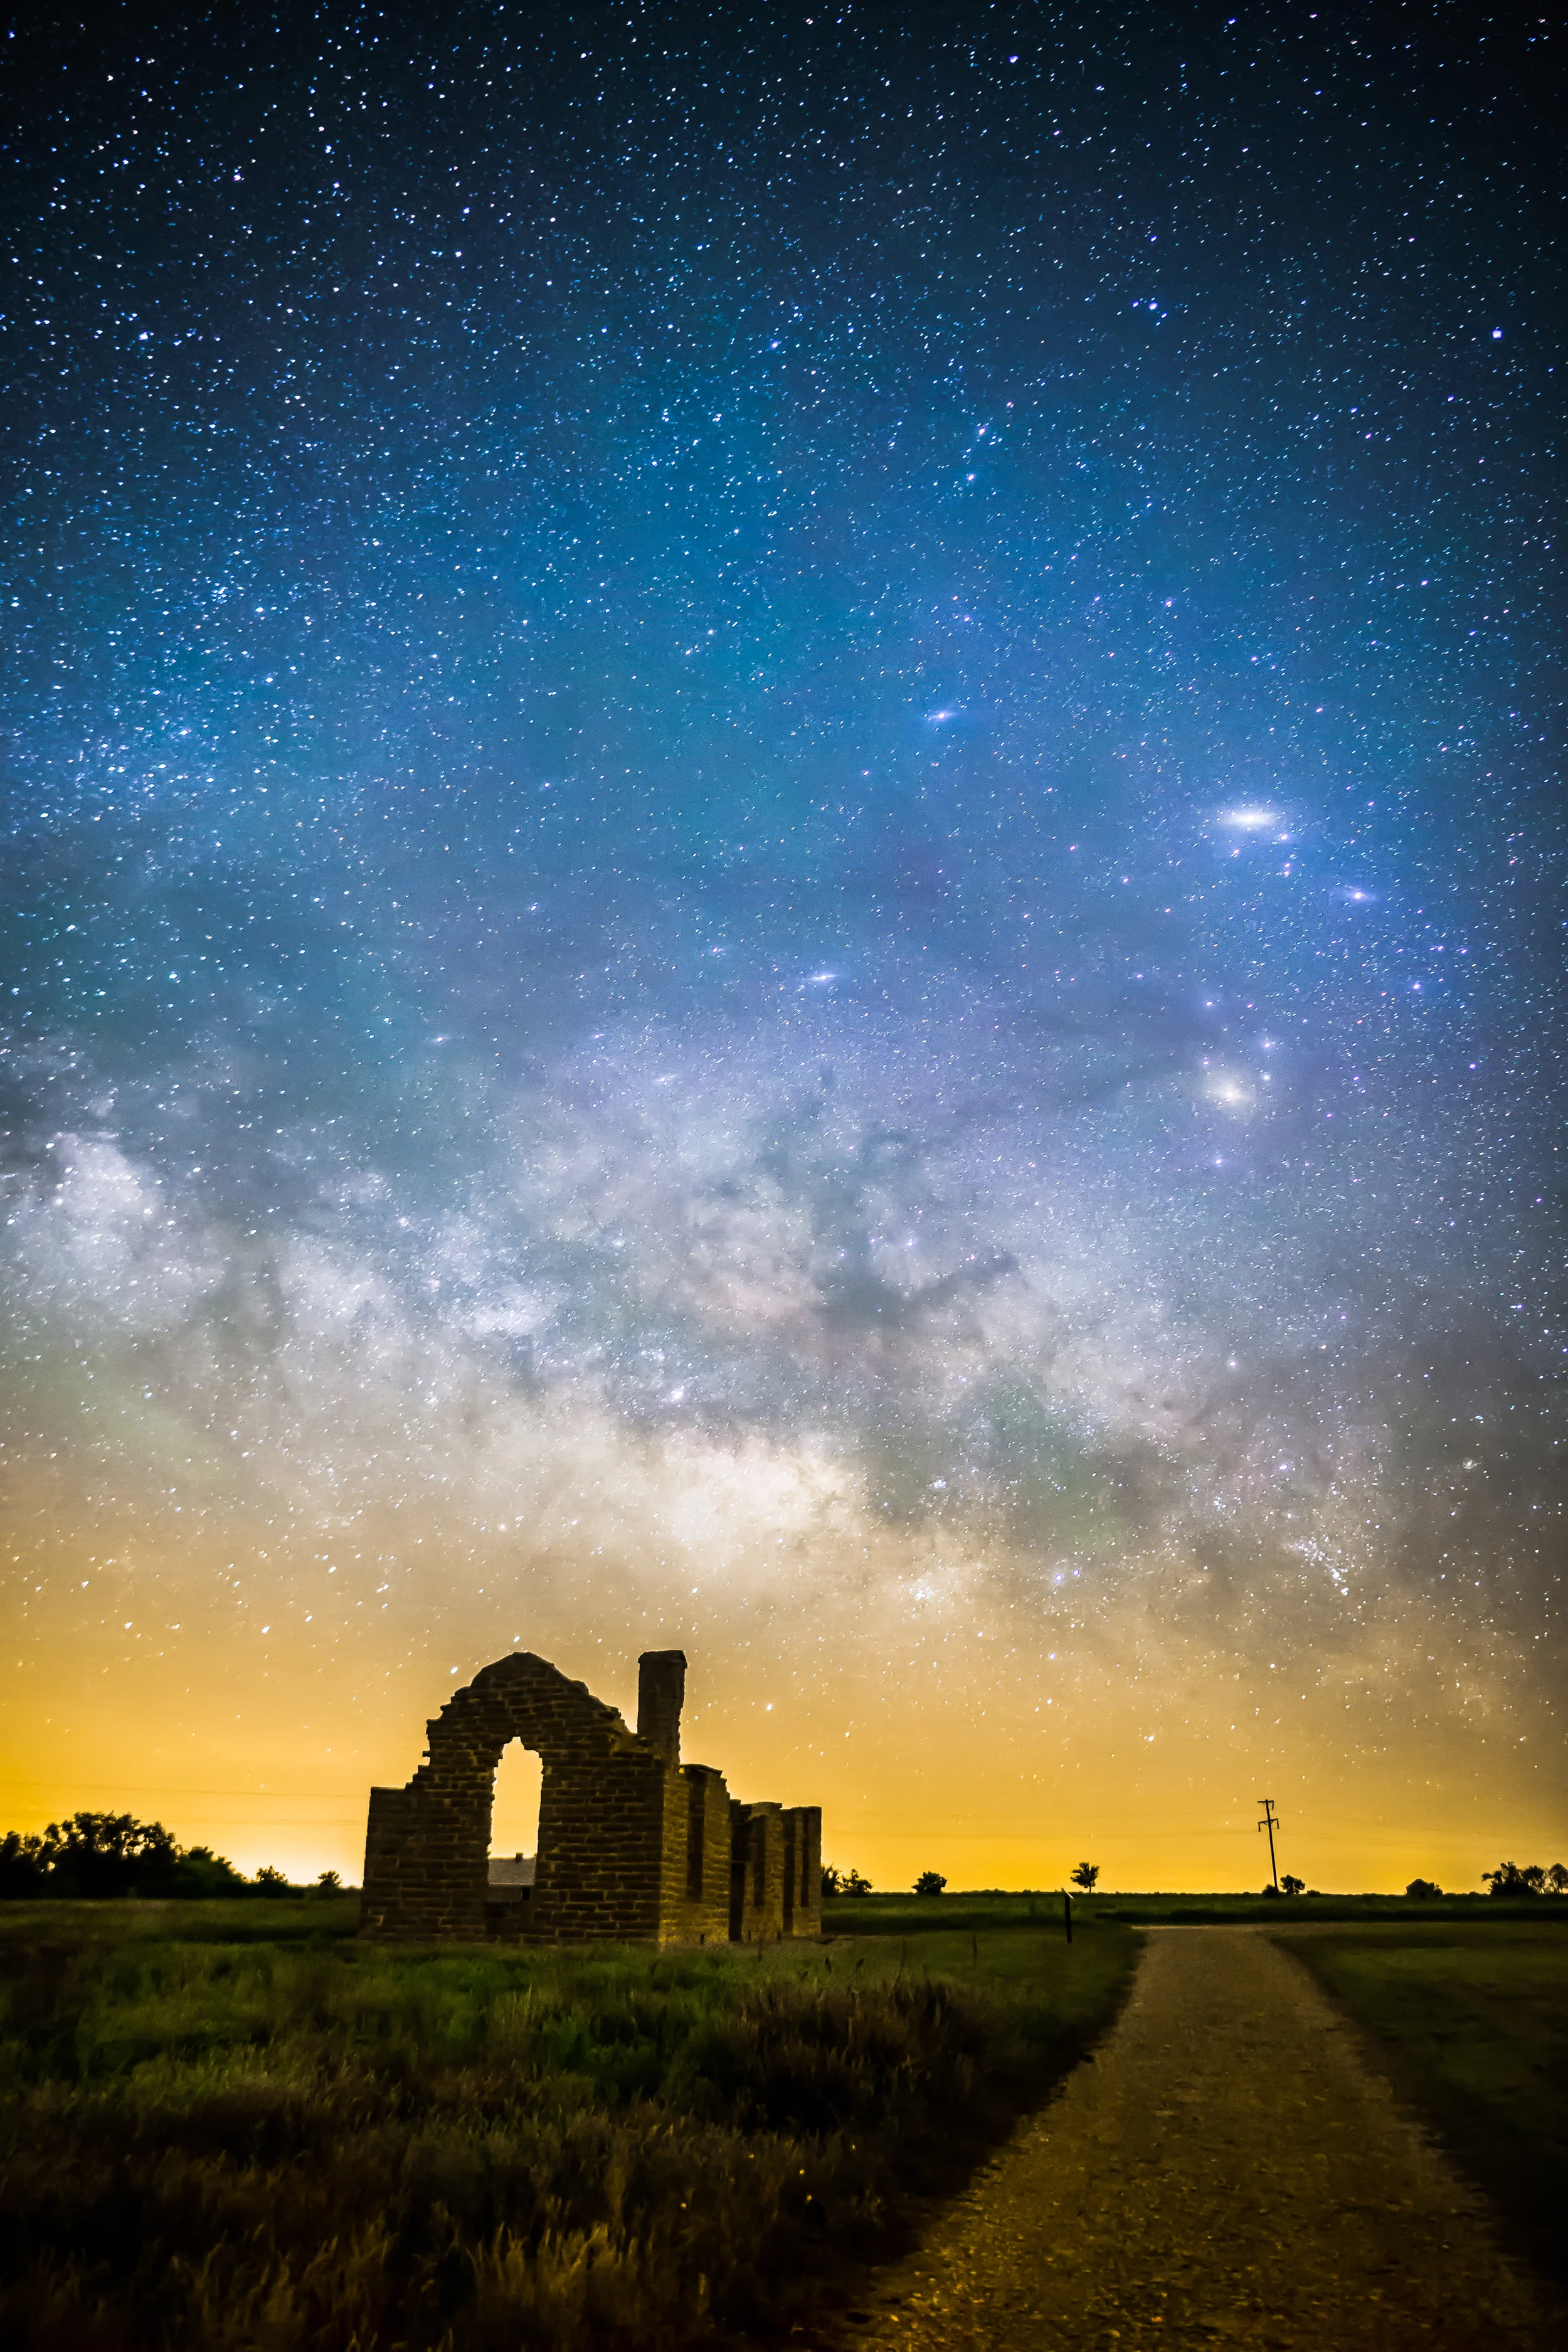
Throughout the next 3 hours, I operate within about a 4 foot circle around my tripod and keep a sustained watch around my tripod checking with my red headlamp light for any movement or new "sticks" that have moved closer to me. I took this composition with 3 different lenses to maximize my chances of putting this large of a panoramic together. The final image is 3 rows of imaging high and in total came to 136 total images all with about 60 percent overlap. I was worried that either the sky would not stitch or the foreground due to two things: I wanted this to be shot with a 50mm lens on a full frame because the detail would be awesome, but going this large is a pain with so many images for the scene. Secondly, those people driving into the canyon and flashing their lights on and off in their camps are randomly lighting up the canyon rocks everywhere. To convince the viewer of a scene you need consistency in the light direction and intensity. If this is not correct a plausible image will have lighting issues and loses much if not all of its impact. I wanted to create the foreground with the moon acting as a main light and illuminating the rock face, and adding dimension and a ratio with the ambient starlight. I had to reshoot several foreground areas a few times, and as this is happening the moon is getting lower and less intense. I finally took enough equally exposed images for the foreground that I felt I could raise or lower the exposure a few tenths of a stop and not lose the believability of the image. Finally, the moon set behind the ridge.
Waiting to start a star and sky imaging session is always fun because you can just enjoy the constellations and the shooting stars. It's incredible when you think that the majority of Americans have never seen the Milky Way, yet it's over their heads for most of the year. There's just too much light pollution from the cities where they live. Everyone should take a trip out to a beautiful national park and just look up during a summer night. Seeing that ribbon of stars that make up the Milky Way has made me fall in love with photography even more, and it's incredible every time I see the glow of the sky shining down amidst a scene.
I dug into my bag and started shooting with several different lenses, again to cover my bases in case stitching with the 50mm lens failed. Thankfully, the 50mm with the 60 percent overlap did the trick and the only issue was the amount of images. I photographed quickly as the sky is constantly moving and within an hour, this composition had already changed. When the sky imaging was finished I was only thinking about two things: this nightscape is going to look awesome! But, mostly I was thinking; I'm about to get bit by a snake climbing down this hill. After slipping some and falling once I made it down to my wagon and started heading back up the trail with my equipment while walking with incredible intention and attention to every detail on the ground in front of me. For the first time in Caprock Canyons I didn't see a single snake.
I was able to capture another series of images for a different panorama image in the early morning hours and finally drove home. I would not have come to Caprock Canyons State Park and created Star Bridge To Caprock if the weather wasn't terrible everywhere else. I wouldn't have been in the panhandle of Texas if every previous new moon weekend was just abhorrent for star imaging with rain and cloud cover. I wouldn't have gone out to Caprock Canyons if plane tickets were a little cheaper. I wouldn't be so excited about how this image turned out if I had said, “screw it” and stayed home.
I'm know I’m happiest and I grow the most when I get outside my comfort zone. I think every artist should get a little uncomfortable and be okay stretching themselves. I completely believe you will grow as a person and as an artist if you do, and you just might experience something extraordinary in the process.
- Star Bridge to Caprock